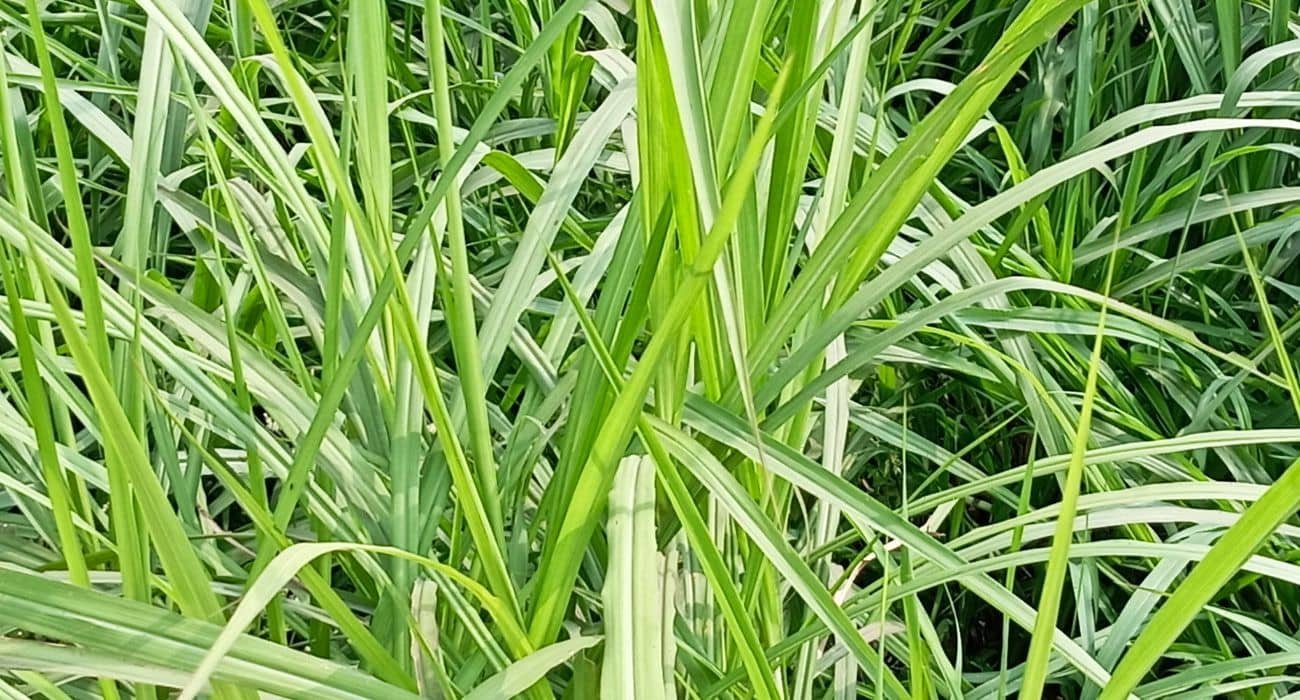
Napier grass is also known as elephant grass, uganda grass, scientific name Pennisetum purpureum, family name poaceae, a leafy, branching, vigorous growing perennial, attaining, under favorable conditions, a height of 10 to 15 feet at maturity. It has a strong, extensive fibrous root system which enables the plant to become quickly and permanently established in the soil. The leaf blades are usually 1 to 1% inches wide and 2 to 3 feet long. seed heads which are golden yellow to tawny in color and from 5 to 10 inches in length.
Step-by-step How to Grow Napier grass
1. Variety Selection
Napier grass has several varieties, each suited for different climates and purposes:
- Bana Grass: Drought-tolerant, suitable for semi-arid areas, with high protein content.
- Pakchong 1 (Super Napier): High-yield hybrid with protein content up to 16–18%. Ideal for silage and feeding high-producing animals.
- Hybrid Napier (e.g., CO-3, CO-4): Faster-growing, disease-resistant, and suitable for intensive cultivation.
Choose a variety based on:
- Climate (rainfall, temperature).
- Livestock nutritional needs.
- Soil conditions.
2. Site Selection and Soil Requirements
- Climate: Napier grass is truly a tropical species, but it is very adaptable in nature and grows successfully in the subtropics and even in the warmer sections of the Temperate Zone. Napier grass grows best in tropical and subtropical climates. It requires annual rainfall of 1,200–2,000 mm, though irrigation can supplement during dry spells. It grows at altitudes ranging from sea level to 2,000 m above sea level. When grown at altitudes above 2000 m, growth and regeneration after cutting is slow and it may die due to frost. It does best in high rainfall areas, over 1500 mm per year.
- Soil Type: Grows well in loamy, sandy-loam, or clay soils with good drainage. Avoid waterlogged or saline soils. It grows best in deep, fertile, well draining soils.
- Soil pH: 5.0–7.5 (slightly acidic to neutral).
Soil Preparation:
- Test soil to determine nutrient levels and pH.
- Apply lime if pH is below 5.0 or sulfur if above 7.5.
3. Land Preparation
Although Napier grass is aggressive and perennial in nature, competing very well with most weeds, it becomes well established in perfect stands only if planted in a thoroughly prepared seed bed. On new land or land that has been out of cultivation for some years, several plowing may be necessary. This procedure of ploughing and disking should be repeated once, twice or more if necessary.
- Clear all vegetation, stumps, and weeds.
- Plowing: Deep plow to loosen the soil (up to 30 cm depth).
- Harrowing: Harrow the land to break soil clods and create a fine tilth.
- Incorporate organic matter (compost or manure) at a rate of 10–20 tons per hectare during land preparation.
4. Planting
Either canes or splits can be used for propagation. Canes require less labour and planting material. While splits are labour intensive and requires a lot of planting material. Napier grass is propagated largely by vegetative means, either using stalk cuttings or root clump divisions. Well developed hard stalks are best, not less than 3 or 4 months of age and not older than 8 to 12 months.
Planting Method
- Plant Napier grass in rows
- Adjusting spacing based on moisture availability or rainfall
- In high rainfall areas, use a spacing of 90 x 60 cm or 100 x 50 cm
- In low rainfall areas, adopt a spacing of 100 x 100 cm or 100 x 120 cm
- Dig planting holes 15–20 cm deep when using cuttings and splits
- For farmers using whole cane, dig furrows 10–15 cm deep.
- Rows 1 meter apart, plants spaced 50 cm within rows (population: ~20,000 plants per hectare) for fodder cropping.
- Closer spacing (~30 cm apart) for hedgerows.
Method of propagation
1. Cuttings Style
- Use fresh stem cuttings (2–3 nodes long) from mature Napier plants (3–4 months old)
- Place cane cuttings at a 45° angle inside the planting holes, ensuring at least two nodes are within the soil.
- Lay the stem cutting horizontally, burying 2/3 of its length in a trench about 5–7 cm deep, with one node above ground
- Position the buds of the cuttings facing upward, taking care not to damage them.
- Planting an acre requires 11,236 cuttings.
2. Splits Style
- Place splits firmly into the planting holes and secure them in the soil.
- Planting an acre requires 14,045 splits.
3. Cane Style
- Lay cane end to end in the furrow and cover them with soil.
Optimal Planting Time:
- Plant at the start of the rainy season for natural irrigation.
- In irrigated areas, planting can occur year-round.
5. Watering/Irrigation
Irrigation is essential for high yields. A furrow system is quite satisfactory, applying water about every 10 days during the dry weather.
- Napier grass requires consistent moisture, especially during establishment and active growth.
- Irrigation Requirements:
- During dry spells, irrigate every 7–10 days.
- For drip or sprinkler systems, maintain uniform moisture without waterlogging.
6. Fertilization
At Planting:
- Apply 20–30 kg of nitrogen (N), 40–60 kg of phosphorus (P2O5), and 40–60 kg of potassium (K2O) per hectare as a basal dose.
Top Dressing:
- Apply nitrogen-rich fertilizers (e.g., urea) at 50–100 kg N per hectare after every harvest for robust regrowth.
Organic Fertilizers:
- Add compost or farmyard manure (5–10 tons per hectare) to improve soil structure and nutrient content.
- You can apply slurry (mixture of dung and urine) immediately after harvesting in a furrow along the rows of Napier and cover with soil as weeding
Best Fertilizer for Napier grass
Urea Fertilizer
High in nitrogen, urea promotes lush, green foliage, which is essential for fodder crops like Napier grass. It’s advisable to apply urea after each harvest to sustain higher yields.
Organic Compost
Incorporating organic compost enhances soil fertility and provides a slow-release nutrient source, benefiting Napier grass growth. Applying a 2-3 inch layer every few months is beneficial.
Azospirillum and Phosphobacterium Biofertilizer
These biofertilizers can be applied along with 75% of the recommended dose of nitrogen and phosphorus fertilizers to enhance yield and save on fertilizer usage. Applying 2000g each per hectare is suggested.
Farmyard Manure
Applying 25 tons per hectare of farmyard manure before planting improves soil structure and fertility, providing a strong foundation for Napier grass cultivation.
When selecting fertilizers, consider your soil’s specific needs and conduct soil tests if possible to determine nutrient deficiencies. Always follow the manufacturer’s instructions for application rates and methods to ensure optimal results.
7. Weed Management
- Weed control is critical during the first 1–2 months.
- Use the following methods:
- Manual weeding: Hand-pulling or hoeing.
- Mulching: Apply crop residues or grass mulch to suppress weeds and conserve soil moisture.
- Herbicides: Pre-emergence herbicides (e.g., glyphosate) can be used carefully.
8. Intercropping
Intercrop Napier grass with various legume crops and shrubs to improve fodder quality and enhance soil fertility.
9. Pest and Disease Management
- Common Pests:
- Stem Borers: Use resistant varieties and biological controls like parasitic wasps.
- Aphids: Control using neem oil sprays or insecticides.
- Common Diseases:
- Leaf Blight: Prevent by avoiding overcrowding and maintaining proper spacing.
- Rust: Apply fungicides if necessary.
Integrated Pest Management (IPM):
- Encourage natural predators like ladybugs and parasitic wasps.
- Rotate crops to reduce pest buildup.
- Avoid using manure from livestock fed on smut infected plants.
- Use of clean planting materials.
- Uprooting and burning of affected materials.
- Observe routine agronomic measures.
- Use resistant varieties
10. Harvesting
- First Harvest: Ready in 75–90 days (2.5–3 months) after planting when the grass reaches 1–1.5 meters in height.
- Subsequent Harvests: Harvest every 6–8 weeks. Avoid harvesting during dry periods to reduce stress on the plant.
- Harvest Height: Leave a stubble of 10–15 cm above the ground to encourage regrowth.
- Yield: Expect 40–100 tons per hectare annually, depending on variety and management.
11. Post-Harvest Handling
- Fresh Use: Chop Napier grass into small pieces (3–5 cm) before feeding to livestock for easy consumption and digestion.
- Silage: Chop and ensile with molasses to preserve for dry-season feeding.
- Hay: Dry the grass until it retains 10–15% moisture and store in a well-ventilated area.
12. Maintenance and Longevity
- Napier grass remains productive for 3–5 years with proper care.
- To maintain yield:
- Regularly top-dress with nitrogen.
- Replace older plants after 3–4 years or if productivity declines.
13. Sustainability Practices
- Crop Rotation: Rotate Napier with legumes (e.g., cowpea or desmodium) to fix nitrogen and improve soil health.
- Terracing: Use Napier as a natural barrier to control soil erosion on slopes.
- Intercropping: Combine with legumes for a balanced diet for livestock and improved soil fertility.